- #27 [hahayanyan], 20-10-19 12:01
- #26 [hahayanyan], 20-10-19 10:28Oh..iccciccc seem soft
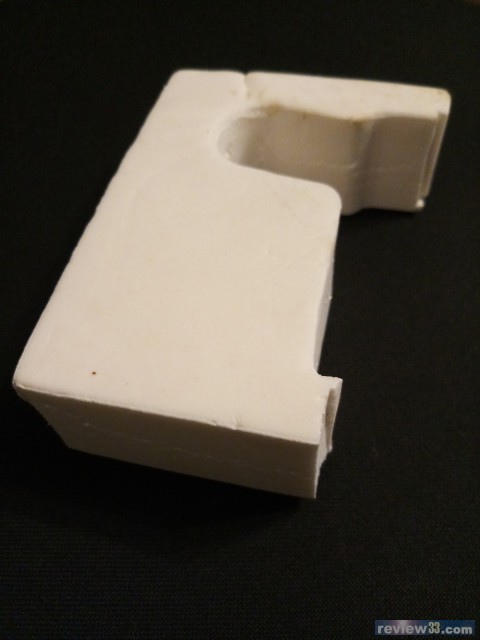
If I feel it may be a need the may 3D print a long piece of cross shape ..etc... Push through the arm tube and each wire go to each section of the cross - #25 [fotheringay], 20-10-19 03:38This stuff.
-
- #24 [fotheringay], 20-10-19 01:44Yes, just put some foam materials that came with Orthopaedics implants.
- #23 [hahayanyan], 20-10-19 01:10cABON arm tube...
any dampening material inside the arm tube?
sexy looking ......great sense of Air toooooooooo - #22 [hahayanyan], 20-10-19 00:55Haha since a few hours ago, the guy asked..do u want it?
Then I been wonder should I disable the semi auto function. haha going to pick that up tomorrow afternoon , it so a white original one
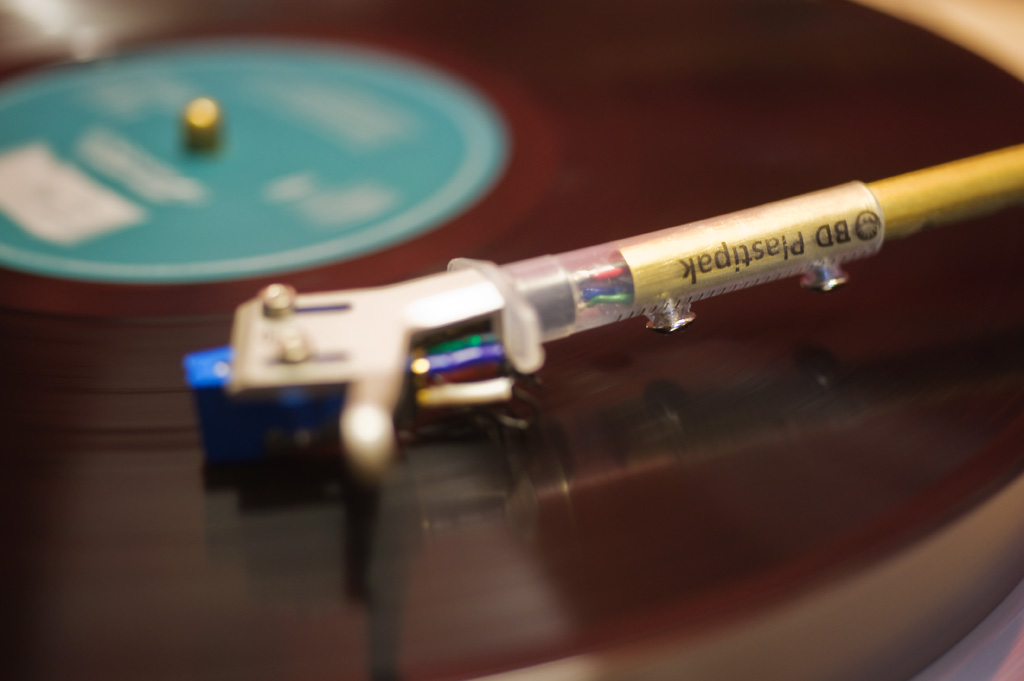
Trying to find the v block drawing
My lenco day 2 seem fine...learnt a few things
Thx for sharing hahahahaahahah
I suppose 2 lenco is enough haha
And it seem to be a L78 SE which has slightly different machanism vs the L78
Things to learn
Haha
最後修改時間: 2020-10-19 01:00:37 - #21 [fotheringay], 20-10-19 00:49
GL-78............nice..........I miss mine.......
- #20 [hahayanyan], 20-10-18 22:57seem to have a busy oct /Nov, as someone shall sell me a L78
haha so happy - #19 [hahayanyan], 20-10-18 17:30platter bearing maintenance procedures
need to redo it haha ( as it really need more than a few drops................................ )
https://www.lencoheaven.net/forum/index.php?topic=2022.0
the core guild of many other tasks
https://www.lencoheaven.net/forum/index.php?board=10.0
最後修改時間: 2020-10-18 17:34:49 - #18 [hahayanyan], 20-10-18 15:33haha
for all lenco L75 newbie..
i find that...super niceeeeeeeee resources
https://www.lencoheaven.net/forum/index.php?board=9.0 - #17 [hahayanyan], 20-10-18 11:52Seem sharing from this thread create less disturbance from the club thread hhaha
First look of the inside..
Only one suspension spring is missing, all the rest are here
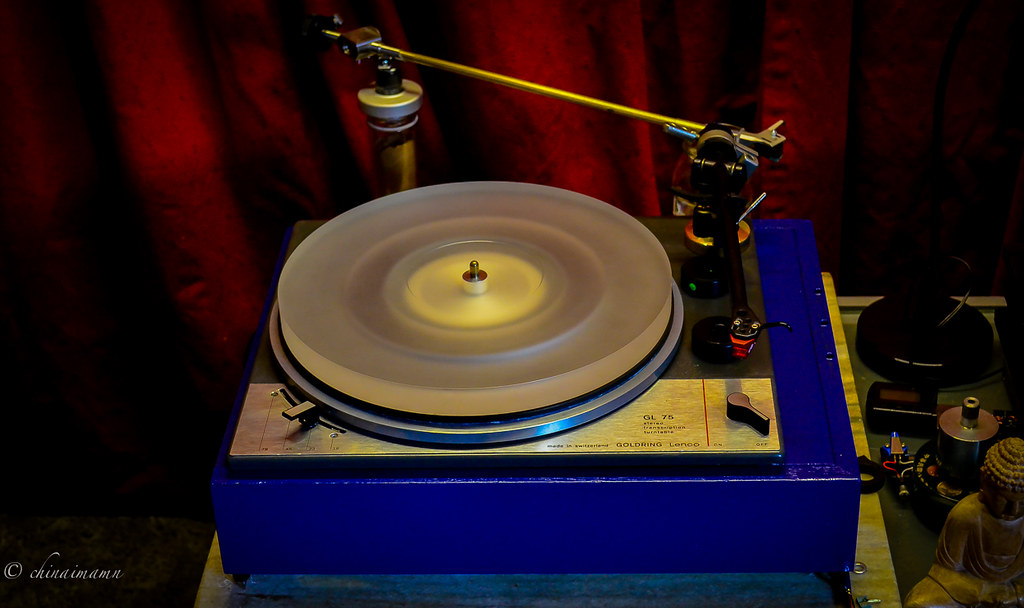
The driving and speed change mechanism is so smart
There is a rubber gorment attached to the end of the idler arm at the slider of the speed change mechanism, that part seem critical ...
The way I read how's it is made , such design were optimised from a set performance wishes.. which ending up with that long motor
The long motor was clearly purposely made for that table, but not those off the shelf motor back in that time
For fitting that long motor into a domestic acceptable form factor at that time, mounted it 90 degree was the way to go
Hence with come with the choices of a driving rod with a 4 diameter section but they created a long cone, that was so smart...
Because of that long cone... There was no need for any fancy electronic components and circuitry to fine tune the speed at allllll, simply do it by a quite simple and clever mechanical link with needing a screw to lock it down.... Super smart
So instead or unlike the rim drive..it ia driven by the bottom surface of the platter
Which translates to 2 to 3 critical area must be maintained carefully as far as I seem at this moment
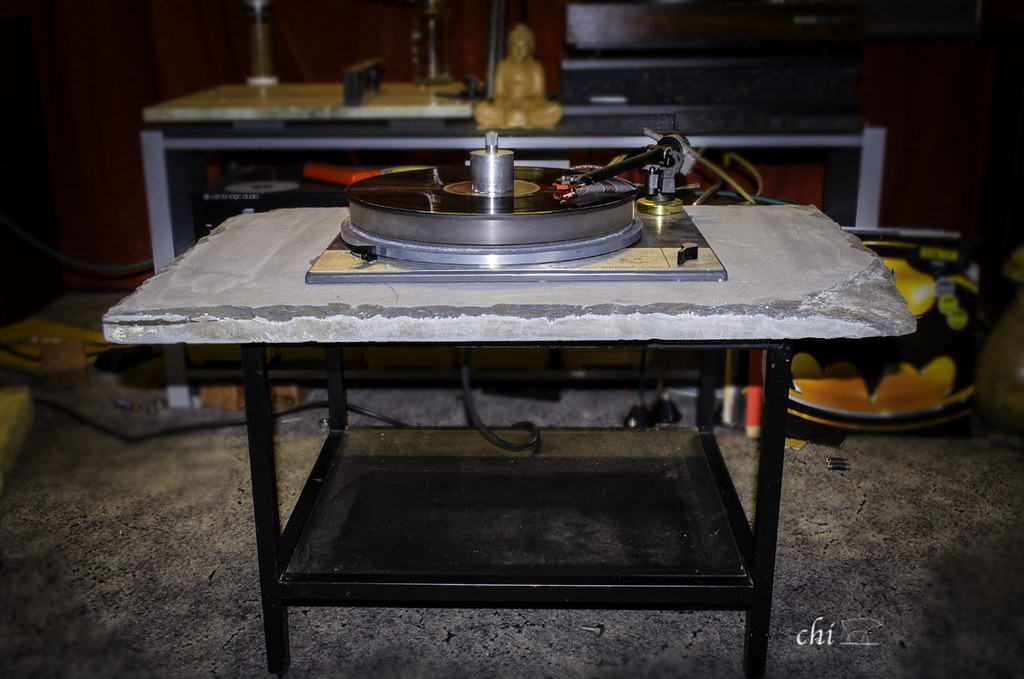
things i need to find out asap is amount of OIL at the spindle housing , i clean the shaft..and add some sewing machine oil.............last nite
Enjoy a coffee...watch a carton , then carry my lenco L75 day 2
Fun
最後修改時間: 2020-10-18 12:00:26 - #16 [hahayanyan], 20-10-18 01:34Oooooo
My day 1 - #15 [fotheringay], 14-08-02 06:09Hi welborne,
I presume you would have uploaded your pictures to one of those online pictures hosts sites like flickr, pbase, photobucket etc. My way of doing is to that when you post a message with your first picture attached to the message you go straight to 修改 feature. This allows you to have 15 minutes opportunity to amke any corrections with your original message.
Once the interface of "修改主旨及內容" appears you could do correction, addition or extra url links for your pictures/videos.
As seen from the picture all you need to do is to type [img]xxxxxxxxx[/img] and copy and paste the url link from your picture host between them.
I use flickr and when I want to post any numbers of picture I just choose them and the sizes of them by right click the pictures. It will show "Copy Image Location" and all you need to do is to click it and paste. as simple as that.
- #14 [welborne], 14-08-01 12:06Hi, can you share how to post multiple pictures in one post?
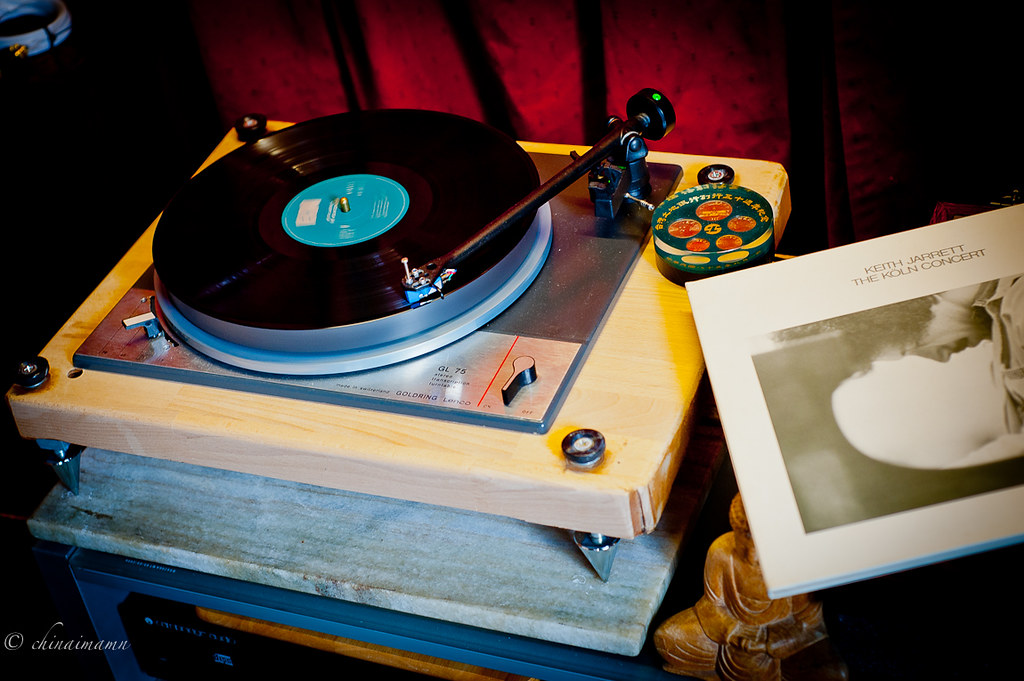
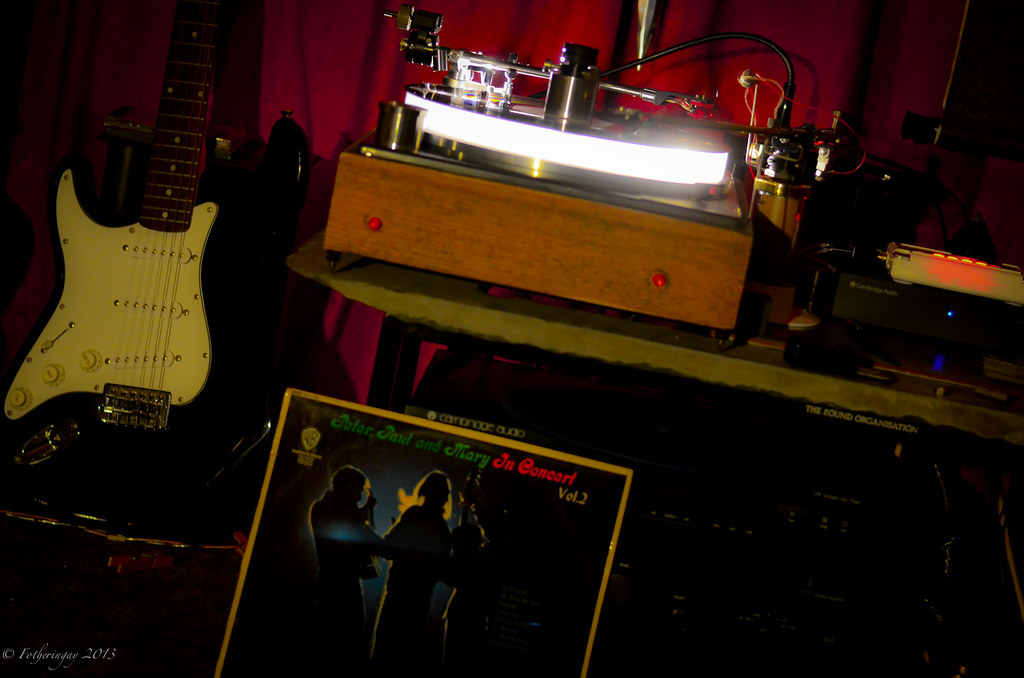
- #13 [fotheringay], 14-08-01 05:45Update with my DIY Lenco's..
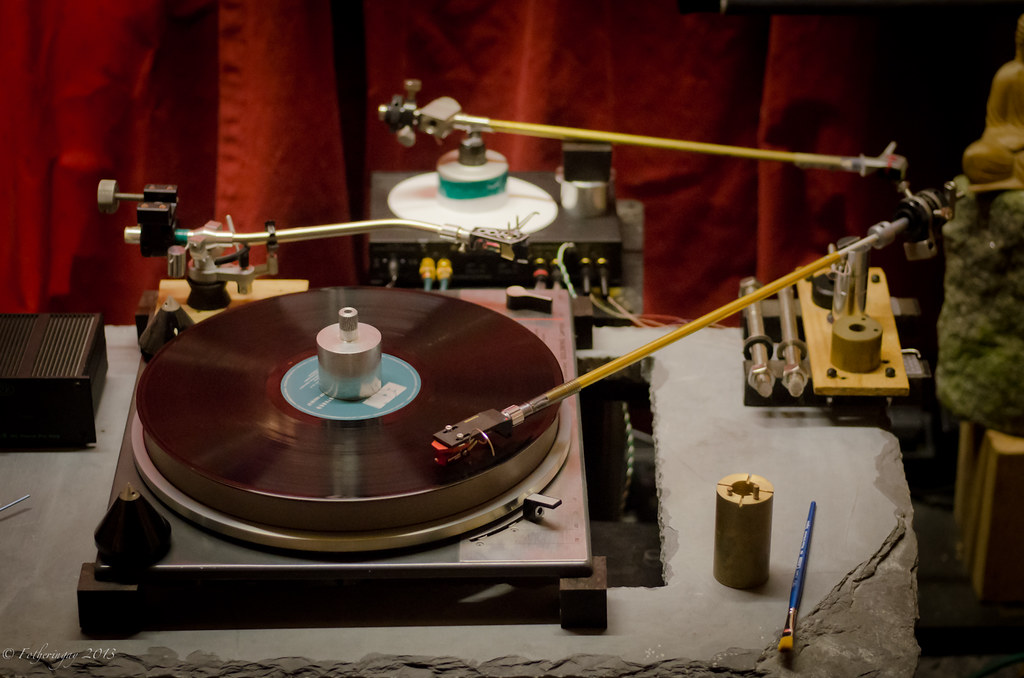
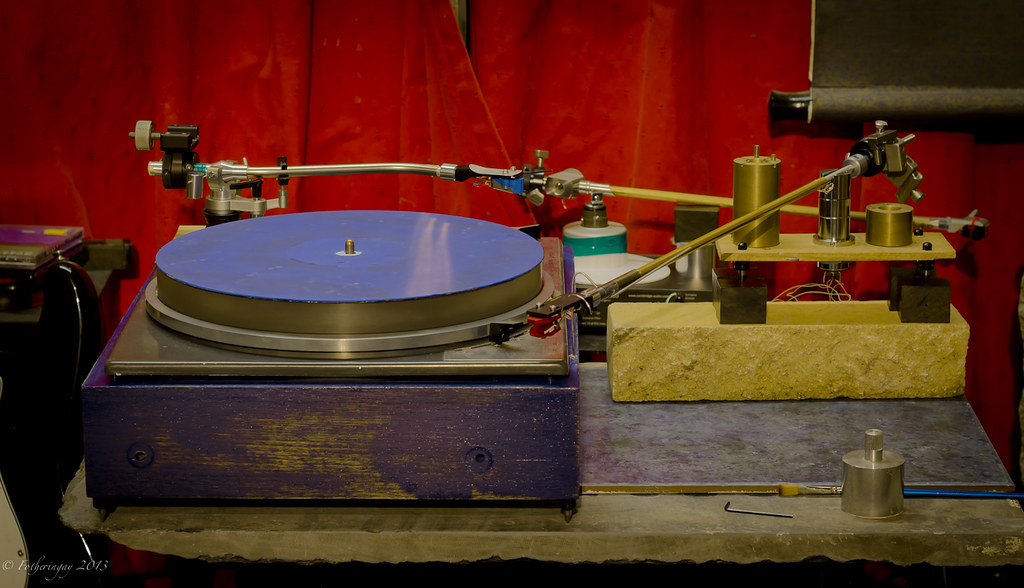
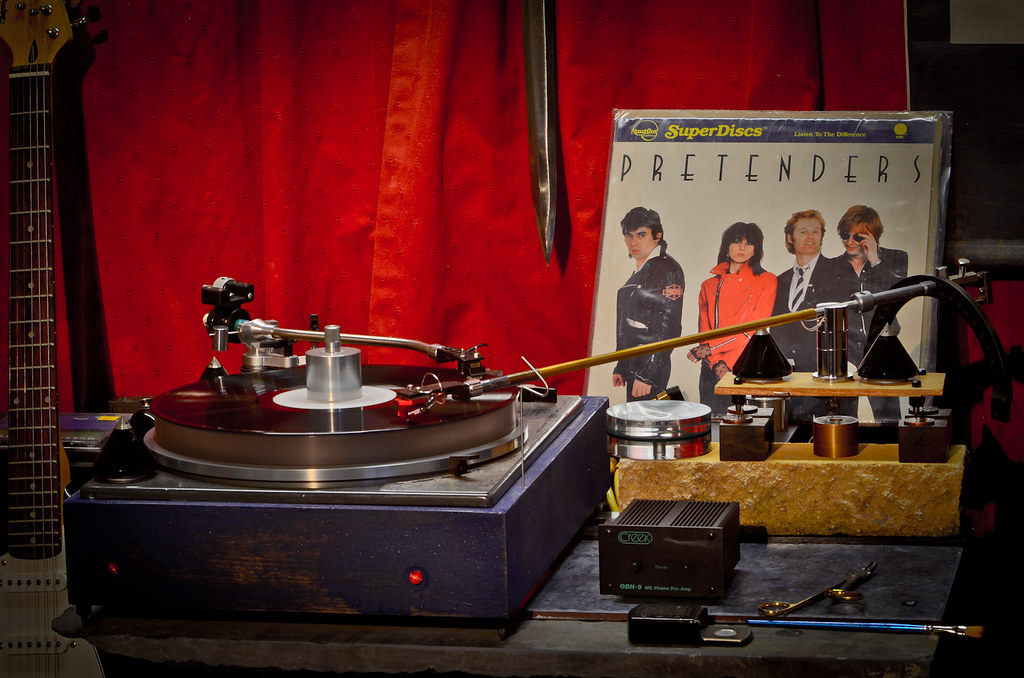
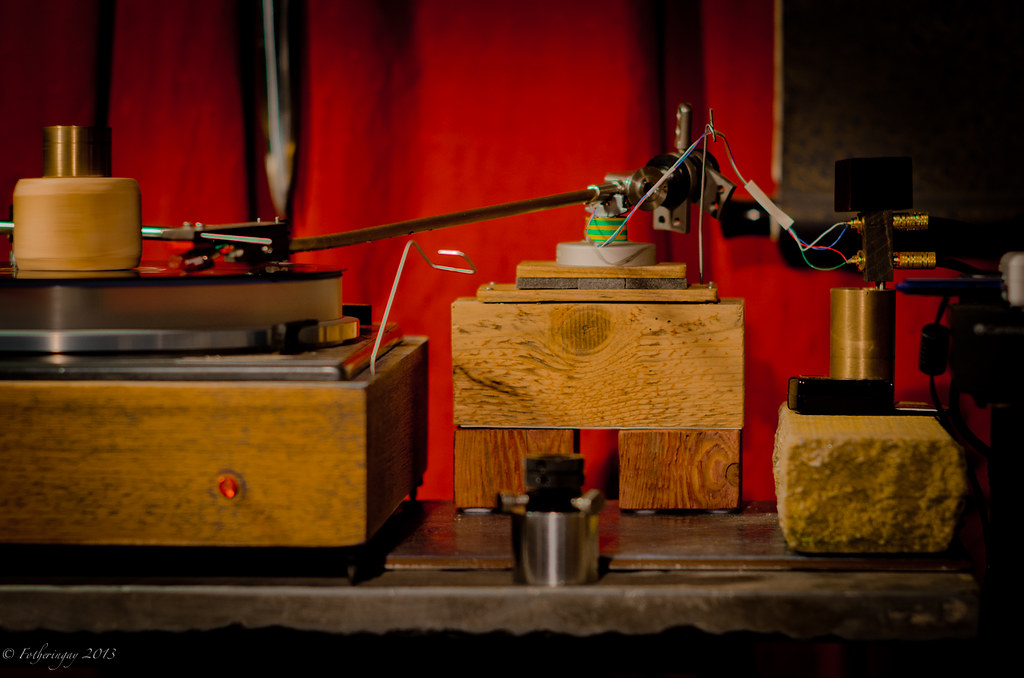


最後修改時間: 2014-08-01 05:58:11 - #12 [chinaimamn], 11-11-14 00:33Or you just couldn't complain that you need more substance(so called poison by HK audiophiles) than this as adding a insulin syringe to the tonearm.
- #11 [chinaimamn], 11-11-14 00:30ha..ha..ha..
Have you seen anyone using old film to support the VTA base?
You can't get any more analogue sound than this, can you?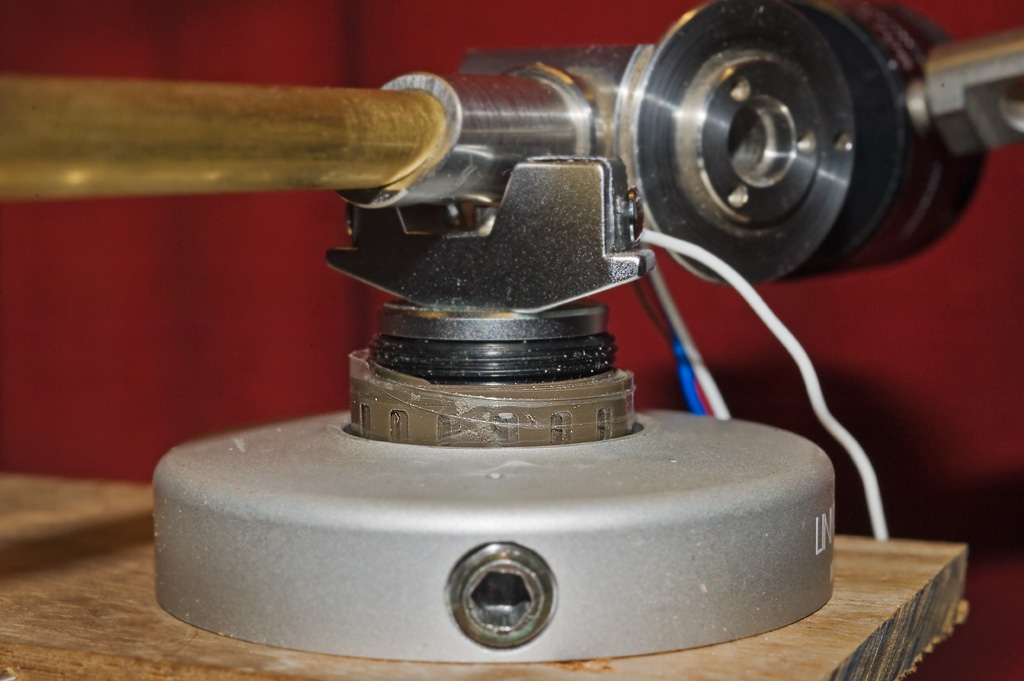
最後修改時間: 2011-11-14 00:33:40 - #10 [ericsiu], 11-11-14 00:23it's really creative..
especial the tonearm supporting.. haha.. - #9 [chinaimamn], 11-11-14 00:21Yes, my second run.
Here is the first one.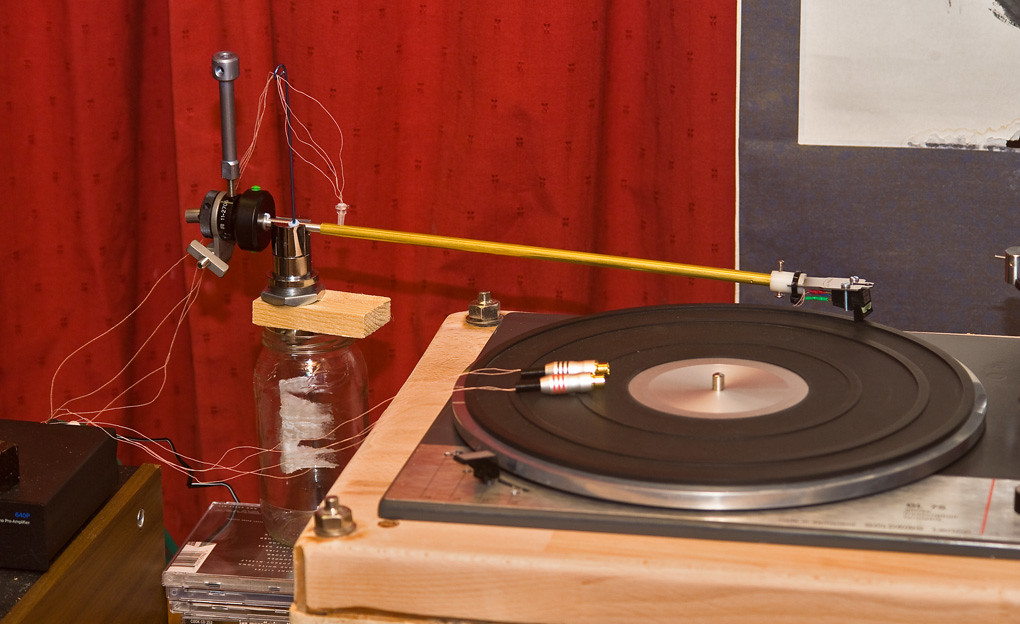
- #8 [ericsiu], 11-11-14 00:12BTW, your tonarms are interesting. DIY?
- 下一頁 (1 of 2)
- 返回 ...

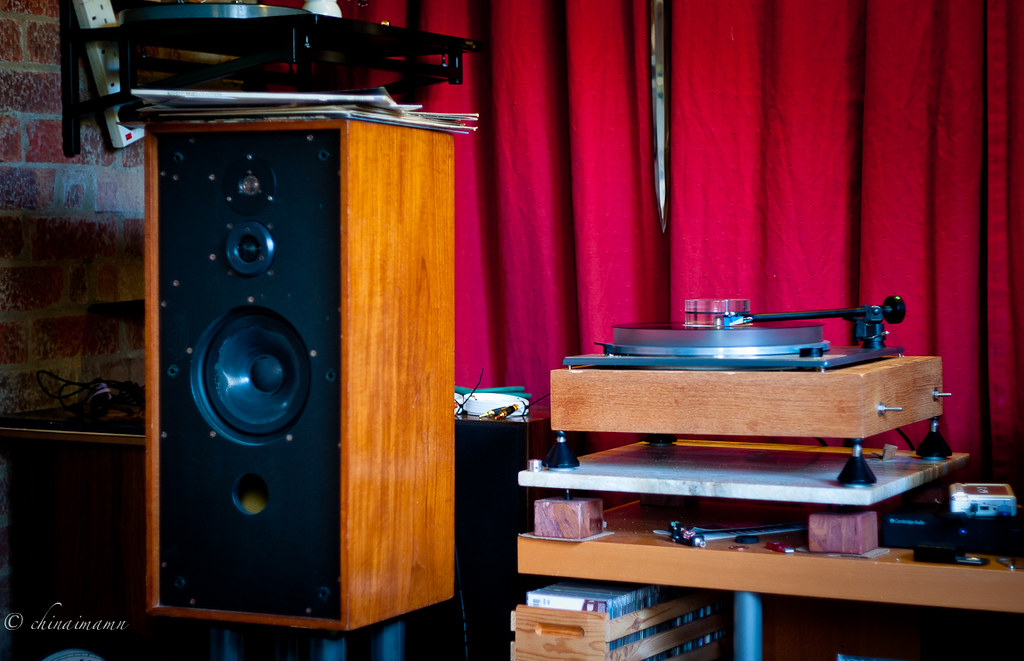
Lenco 黑膠唱盤
By 3D printed TPU